Newspaper tries: Chocolate lasagna
1. Begin by crushing 36 Oreo cookies. I used my food processor for this, but you could also place them in a large ziplock bag and crush them with a rolling pin. When the Oreos have turned into fine crumbs, you are done.
-This is probably the most time consuming part of the recipe. I don’t own a food processor, so I went with the ziplock and crush option. Although it took a longer time than using an appliance, crushing them with a rolling pin builds character and patience, which are invaluable traits. After about 10 minutes of flipping the bag over and rolling, I resorted to using the rolling pin in a stabbing motion instead. I do not recommend this method. The recipe suggests continuing this until the oreos are “fine crumbs,” but I was growing impatient, so I settled for mostly smallish rock shapes.
2. Transfer the Oreo crumbs to a large bowl. Stir in 6 tablespoons melted butter and use a fork to incorporate the butter into the cookie crumbs. When the butter is distributed, transfer the mixture to a 9 x 13 inch baking dish. Press the crumbs into the bottom of the pan. Place the pan in the refrigerator while you work on the additional layers.
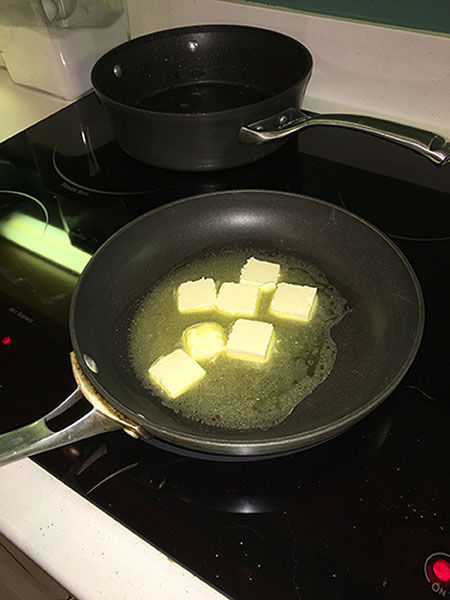
-In contrast to the proceeding step, combining melted butter with my rocky oreos took only a few minutes, but it did require a certain amount of hand eye coordination. I melted my 6 tablespoons of butter (don’t worry, the packaging on the side of the butter is measured in tablespoons) in a pan on top of my stove. I cut the 6 tablespoon log into tinier squares and waited until they were about 3/4 melted, then used a spoon to stir and melt the rest. To mix my butter and oreos, I held my pan of butter juice in one hand and a spatula in the other. While slowly pouring the butter into my oreo vat, I stirred my spatula to ensure even distribution. The resulting mixture was a slightly soggy concoction of cookies. Conveniently, my pan of choice was exactly 9 x 13 inches; however, when I first poured my oreo paste into my pan, it hardly covered half of it. Noticing my distress, my knowledgeable mother handed me a glass cup to compress the oreos and spread them out farther. This worked like a charm, but in order to avoid the cookies from sticking to the cup, slide the cup around instead of picking it up and down.
3. Mix the cream cheese with a mixer until light and fluffy. Add in 2 Tablespoons of milk, and sugar, and mix well. Stir in 1 and 1/4 cups Cool Whip. Spread this mixture over the crust.
-I know, oreos and cream cheese sounds like a revolting pair, but fear not because the sugar and cool whip leave only a hint of cream cheese, which is actually pretty nice. I sold out and used an electric mixer for this part, my arms needed a rest. This process is similar to other basic baking techniques, so you should be fine.
4. In a bowl, combine chocolate instant pudding with 3 and 1/4 cups cold milk. Whisk for several minutes until the pudding starts to thicken. Use a spatula to spread the mixture over the previous cream cheese layer. Allow the dessert to rest for about 5 minutes so that the pudding can firm up further.
-Learn from my mistakes folks, make the two pudding packets separately then combine them in one bowl. Out of restlessness I poured both pudding powders and 4 cups of milk into one bowl, without considering the bowl’s capacity. Slight overflow was experienced. After an emergency clean up, I transferred my milky chocolate powder into a larger vessel. I think I added too much milk, because my pudding never reached real pudding thickness, it was still too liquidy when I spread it on top of my cool whip/cream cheese layer. This hurt me later on when the excess water crystallized in the freezer.
5. Spread the remaining Cool Whip over the top. Sprinkle mini chocolate chips evenly over the top. Place in the freezer for 1 hour, or the refrigerator for 4 hours before serving.
-Again, since my pudding never fully matured, my cool whip was not given a solid base to be spread over, so there was significant mingling of the two layers. Overall I was able to keep the two layers somewhat independent of one another, but my top layer was hardly pure white like the example picture.
Overall, I’m happy about my chocolate lasagna. It may not have looked as nice as the photo, but I learned a lot about myself and the properties of pudding along the way.


